
Step 1: Slice & Dry
Cut halloumi into ½-inch thick slices (or cubes if you prefer).
Pat dry with a paper towel—this removes surface moisture and ensures a crisp sear.
Step 2: Heat the Pan
Place a non-stick or cast-iron skillet over medium-high heat.
Add olive oil and let it shimmer (but not smoke).
Step 3: Fry to Golden Perfection
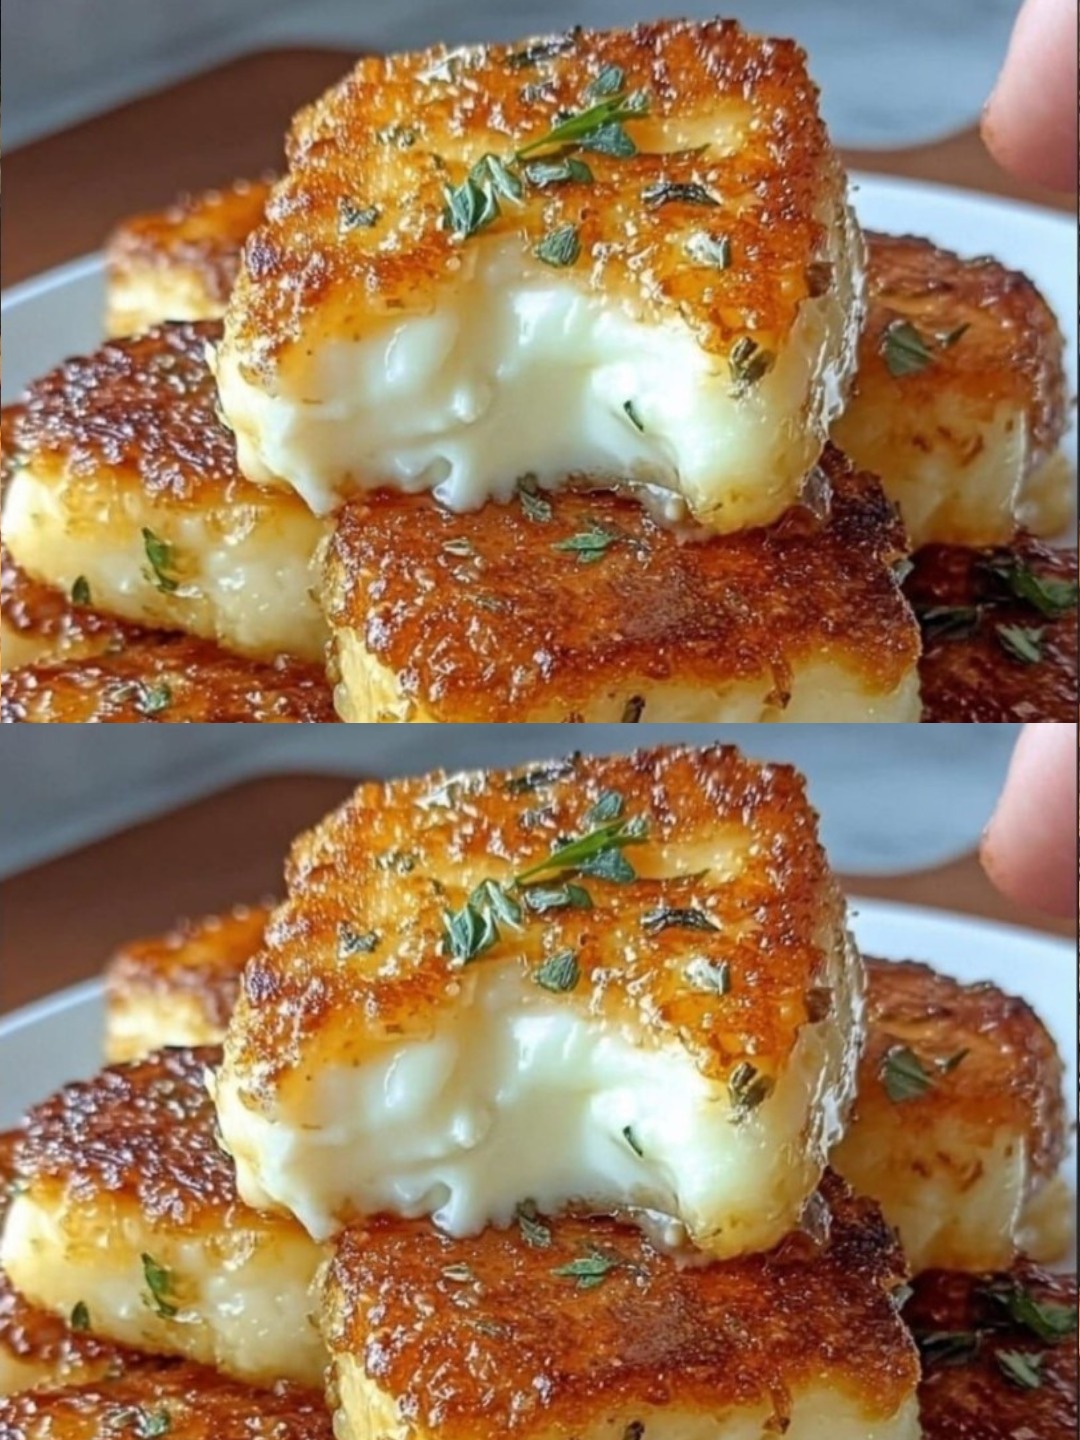
Carefully place halloumi slices in the pan—don’t crowd them.
Cook 2–3 minutes per side, until deeply golden and crispy.
Flip once—listen for that sizzle. Smell that nutty aroma.
Don’t stir or move them too soon! Let the crust form first.
Step 4: Finish & Serve
Remove from heat.
Squeeze fresh lemon juice over the top—the acidity balances the salt beautifully.
Optional: Sprinkle with chopped mint, oregano, or a drizzle of honey.
Serve immediately—warm, juicy, and irresistible.
Pro Tips for Next-Level Halloumi
Always serve with lemon—it’s the secret handshake of halloumi lovers.
Too salty? Soak slices in cold water for 10 mins before cooking.
On a salad? Add to warm pita, tomatoes, cucumber, olives, and tzatziki.
Make it a meal: Top with roasted cherry tomatoes or a fried egg.
Herb boost: Toss with chopped fresh dill, mint, or parsley after frying.
When to Serve These Golden Gems
Summer picnics and BBQs
As a quick lunch with pita and veggies
Happy hour appetizer with a glass of white wine
To someone who says, “I don’t eat cheese” —watch their mind change after one bite
Because once they taste that crispy-chewy magic?
They’ll be converted.
Final Thought: Simplicity Is Its Own Kind of Luxury
You don’t need 17 ingredients to make something unforgettable.
Sometimes, all it takes is:
A block of cheese
A hot pan
A squeeze of lemon
And maybe a memory—like late-night college laughs, shared plates, and simple joy.
Because food like this isn’t just about flavor.
It’s about connection. Nostalgia. Presence.
And every time you make it, you’re not just cooking.
You’re remembering.
ADVERTISEMENT
