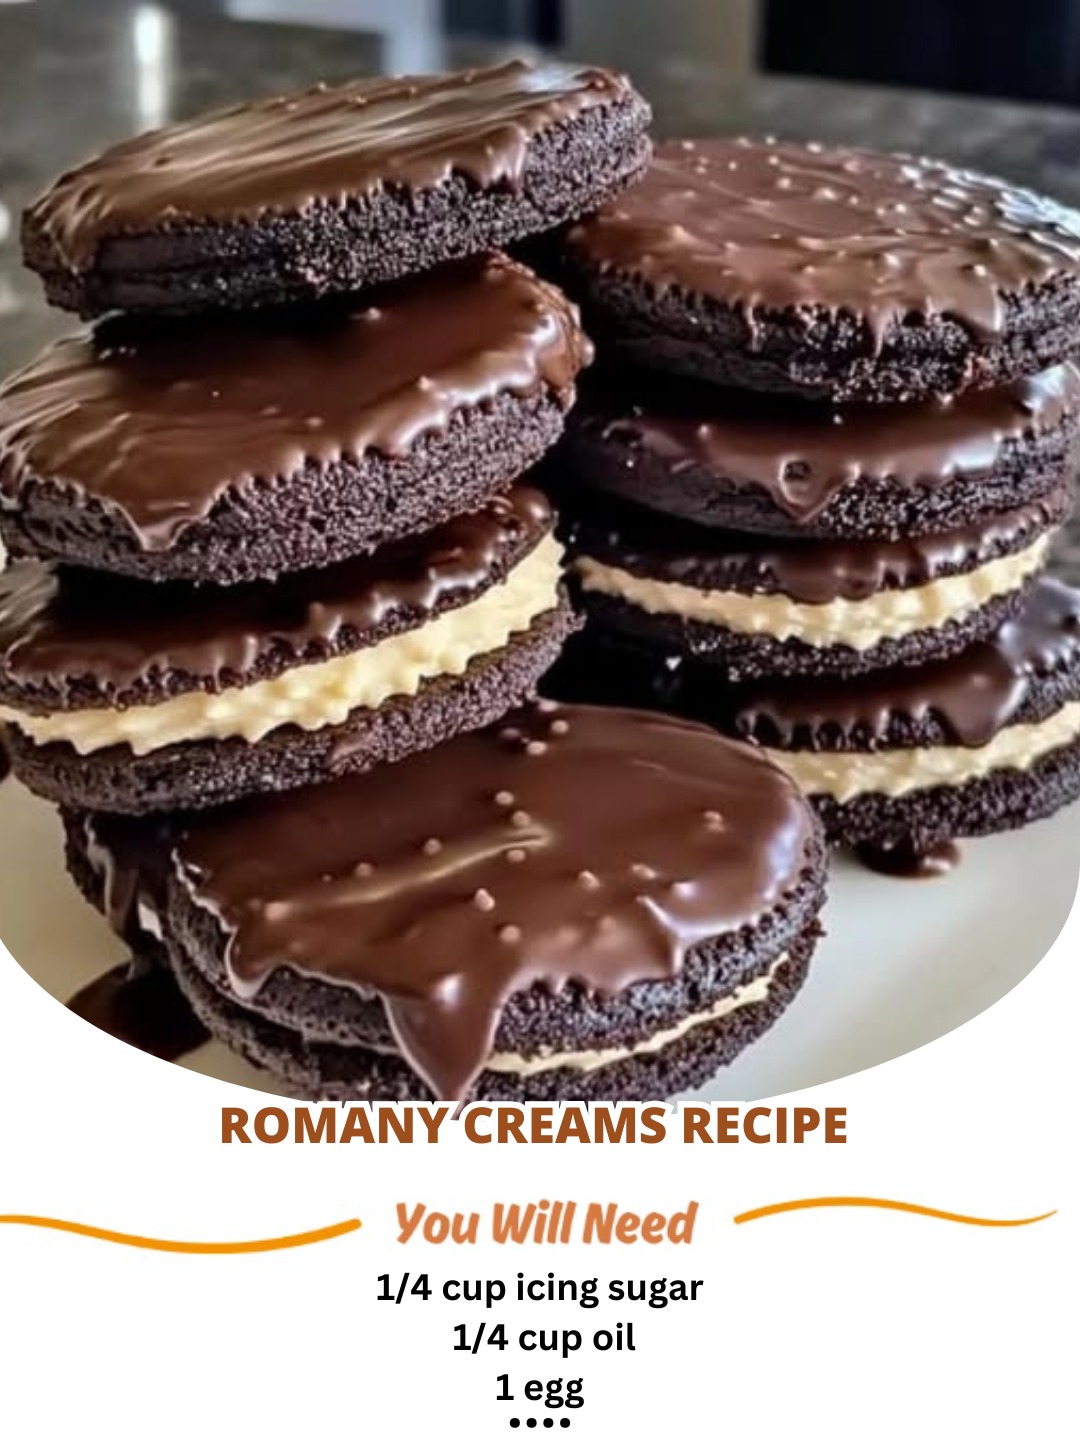
Using an electric mixer, beat together:
Room-temperature butter
Oil
Caster sugar
Icing sugar
Beat for 3–4 minutes until light, fluffy, and pale in color.
This gives that signature buttery softness these cookies are known for.
Step 2: Add Egg & Vanilla Essence
Mix in egg and vanilla essence until fully incorporated.
Scrape down the sides and mix again to ensure even blending.
Step 3: Combine Dry Ingredients
In a separate bowl:
Whisk together:
Cake flour
Baking powder
Cocoa powder
Desiccated coconut
Gradually fold the dry ingredients into the wet mixture using a spatula or wooden spoon — don’t overmix.
The dough will be soft and slightly sticky — that’s exactly what we want!
Step 4: Chill the Dough
Wrap the dough tightly in cling film and refrigerate for 20 minutes to firm up.
This makes rolling easier and helps prevent spreading during baking.
Step 5: Roll Out the Dough
On a lightly floured surface (or between two sheets of parchment), roll out the dough to about ½ cm thick .
Use a round cookie cutter (about 2-inch) or the rim of a glass to cut shapes.Place on a lined baking sheet and use the tines of a fork to gently press a pattern into the top of each biscuit before baking.
Step 6: Bake Until Golden Perfection
Bake at 180°C (350°F) for 12–15 minutes , or until edges are lightly golden but centers remain soft.
Let cool completely on a wire rack before assembling sandwiches.
Step 7: Sandwich with Melted Chocolate
Once cooled:
Take half the biscuits and turn them upside down.
Spoon or pipe melted chocolate onto one side.
Press another biscuit on top to form a sandwich.
Let set in a cool place — or refrigerate briefly to speed up setting.
Step 8: Store & Enjoy Every Bite
Store in an airtight container once chocolate has fully set.
They keep beautifully for up to a week , and the flavor only deepens with time.
Enjoy with tea, coffee, or just because you deserve a little sweet moment!
ADVERTISEMENT

