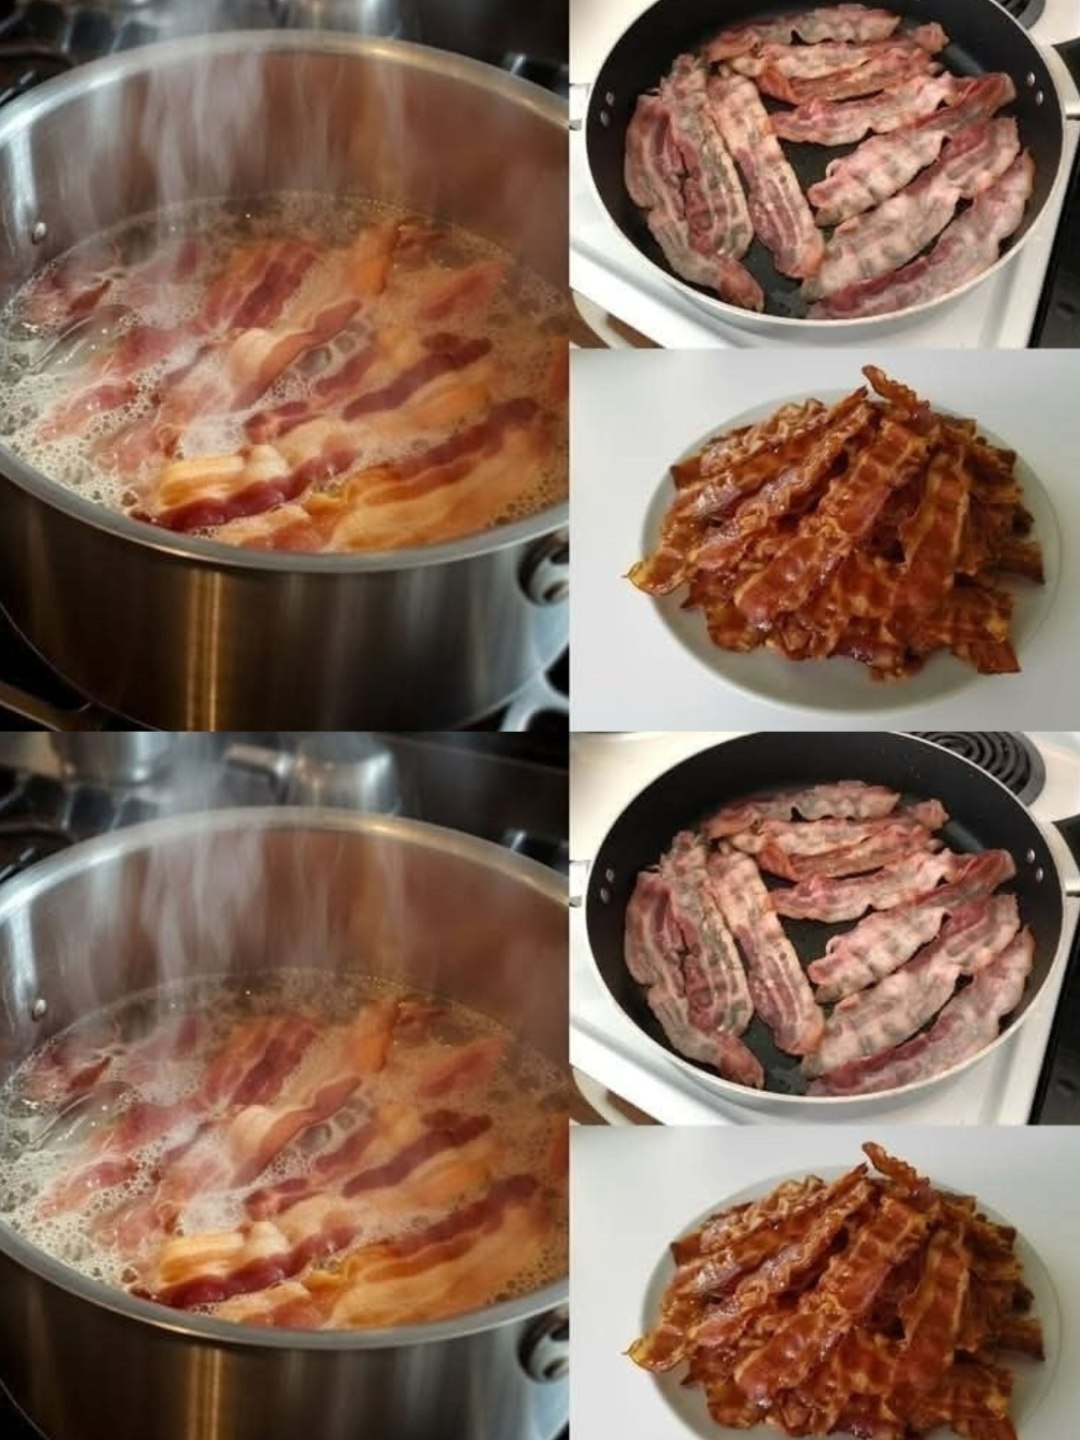
Bacon slices (regular, thick-cut, smoked, maple-glazed — you name it)
Optional: A wire rack for extra crispiness
Optional: Aluminum foil or parchment paper for easy cleanup
Equipment Needed
Rimmed baking sheet or tray
Aluminum foil or parchment paper
Baking rack (optional)
Paper towels
Heat-safe tongs or fork (for removal)
Mason jar or heatproof container (to store bacon grease)
Step-by-Step Instructions – Hands-Free Perfection
Step 1: Prep Your Pan
Line a rimmed baking sheet with aluminum foil (shiny side up) or parchment paper for easier cleanup.
For crisper results, place a wire cooling rack on top — this allows air to circulate underneath.
Step 2: Lay Out the Bacon
Arrange bacon slices in a single layer , placing them close together but not overlapping.
They can touch — just don’t stack.
This method works with any type of bacon — regular, thick-cut, turkey, or plant-based.
Step 3: Bake Without Preheating
Here’s the secret trick:
Don’t preheat the oven.
Place the bacon in a cold oven , then set the temperature to 400°F (200°C) .
This slow start helps render the fat gradually — giving you even cooking and minimal curling .
Step 4: Let It Bake Until Golden
Cooking time depends on your preferred texture:
Bacon Type
Cooking Time
Chewy
12–15 minutes
Crispy
17–20 minutes
You’ll notice the bacon starts to curl slightly, but thanks to the oven’s even heat, it crisps beautifully without burning.
No need to flip or monitor constantly.
Step 5: Drain & Cool
Once done, transfer the bacon to a paper towel-lined plate to drain excess grease.
If you used a rack, most of the grease is already gone — so you get extra crispy, less oily bites .
SEE NEXT PAGE
ADVERTISEMENT

